Where Imagination Meets Innovation
Today we will give you a detailed explanation of how to cleverly apply the Stable Video Division model on your computer to create engaging videos. This technology is at the forefront of trends, and with cleverly designed steps, you will be able to easily realize this eye-catching creation at home. Follow the steps below to learn more about this creative journey
You can search for this project on the Replication platform by yourself. Just search for the keyword "Stable Video Diffusion".
Test installation environment Windows, graphics card 3070TI!
Before starting to read, I'd like to express my gratitude to Text to Video of TTVideo for helping to organize this method.
Step 1: the Installation Environment
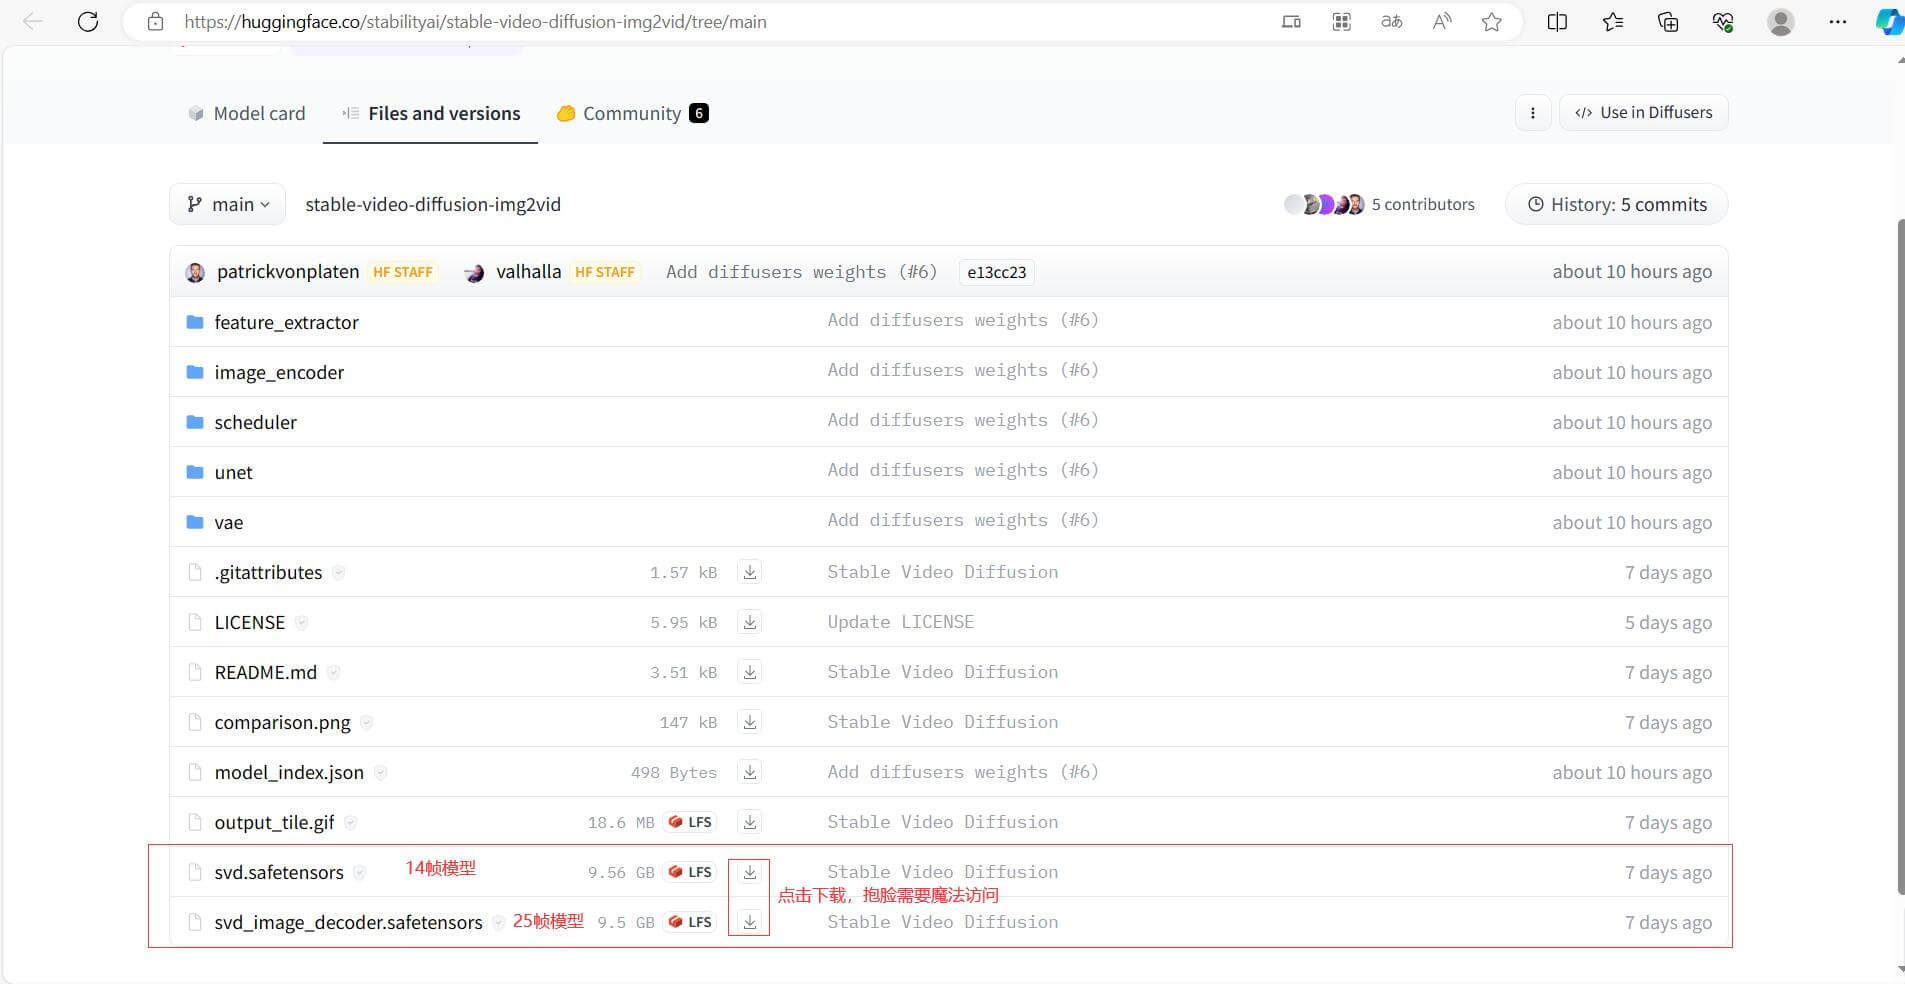
1. Download and decompress the model: Download the Stable Video Division model on the Hugging Face platform and decompress it to the hard disk.
SVD Model Download: Stability ai/stable-video-diffusion-img2vid in Master (huggingface.co)
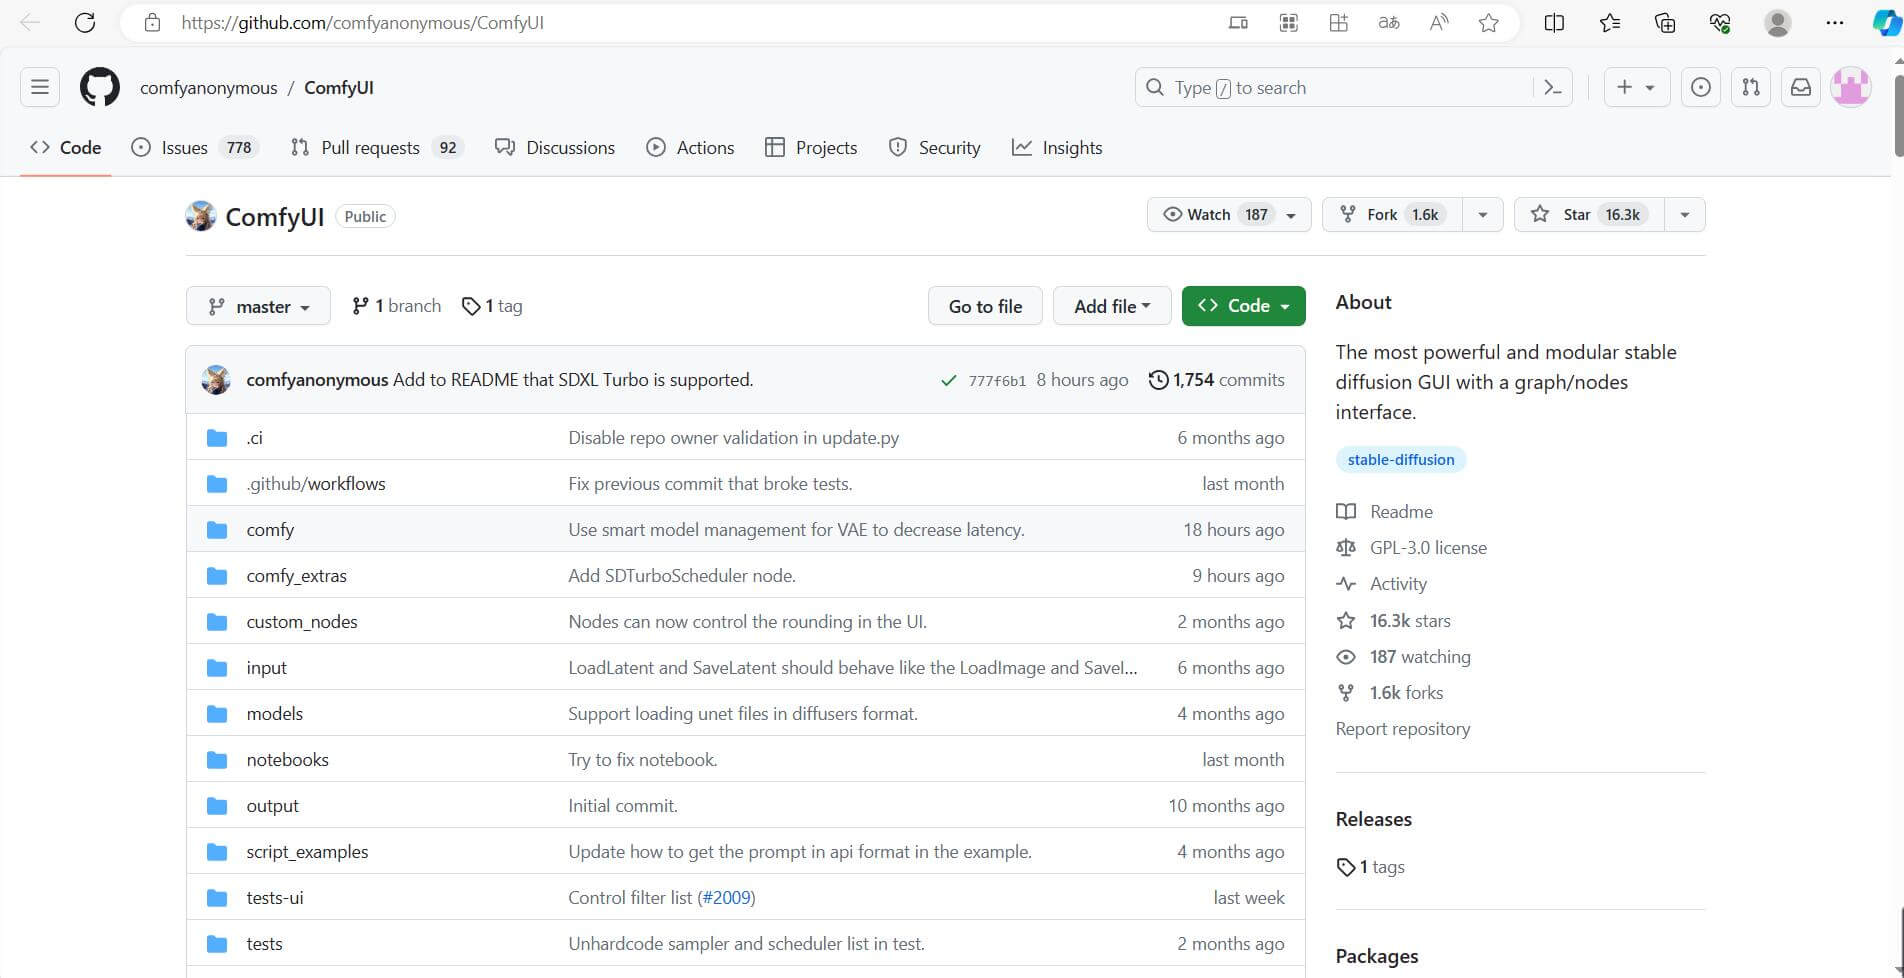
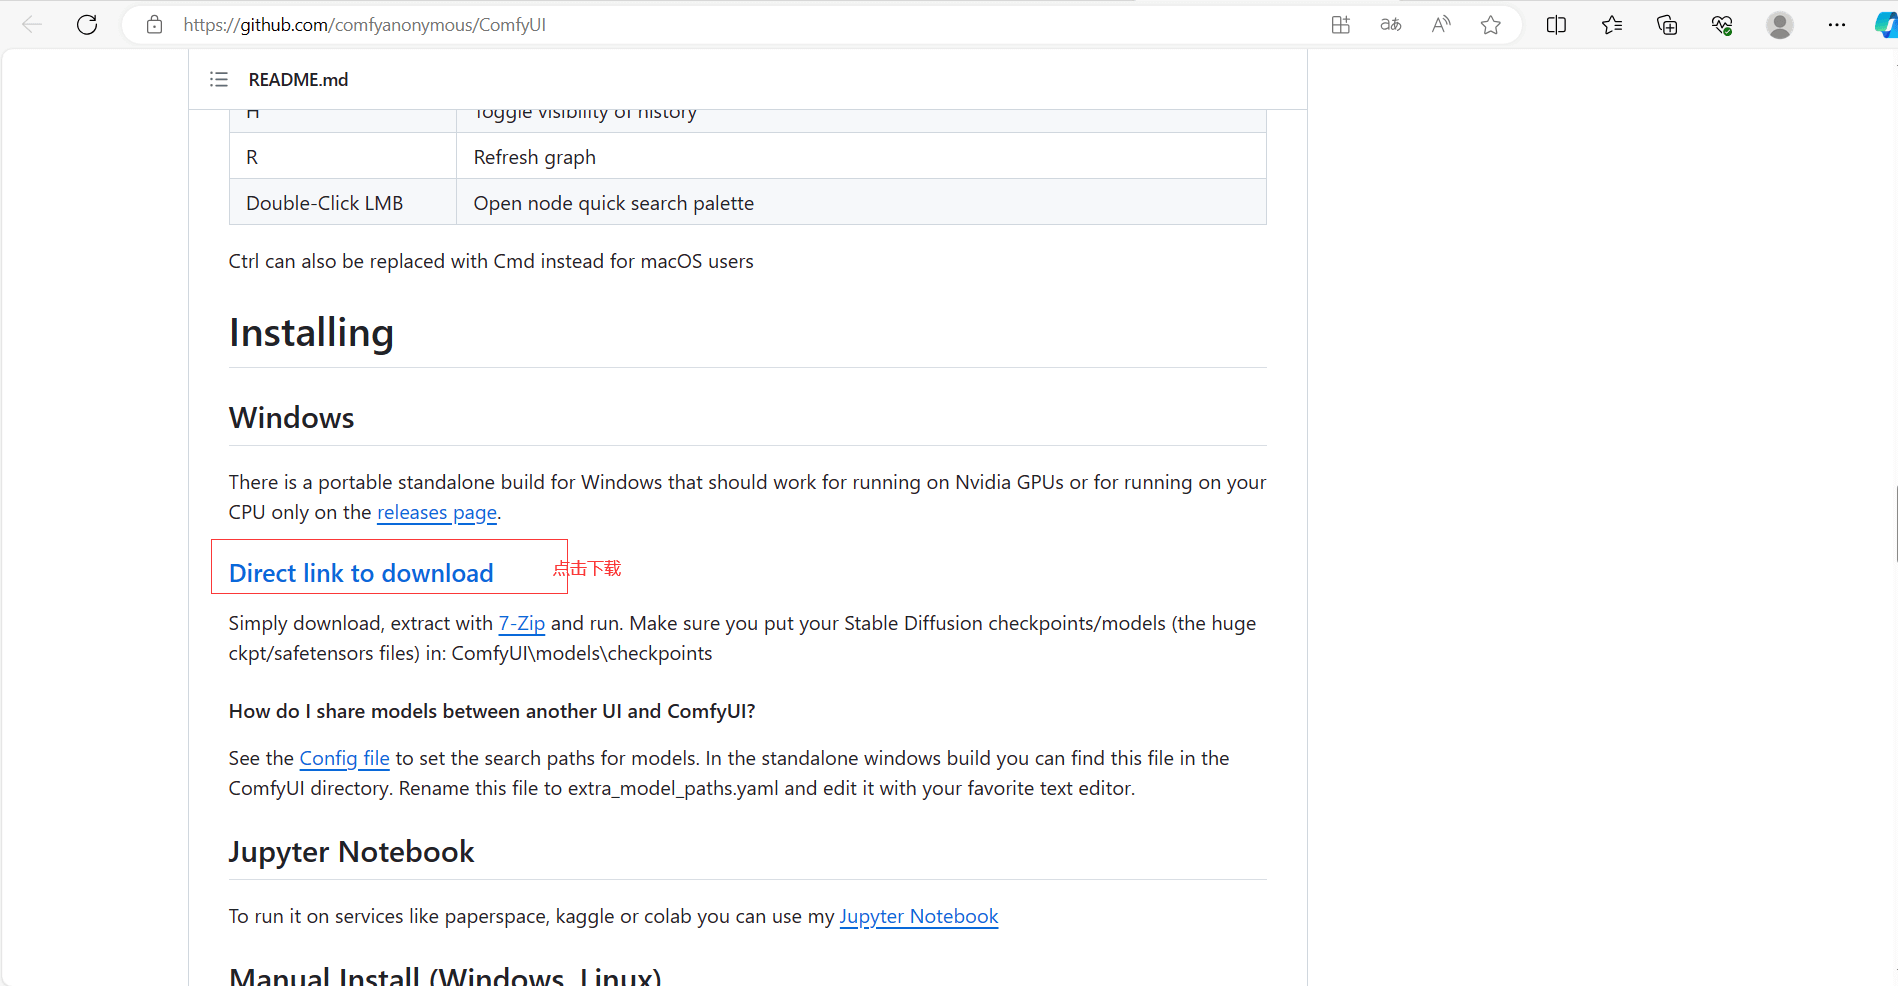
2. Get Comfy UI: Visit the Comfy UI official website to download the direct DOWNLOAD link for Windows operating system.
ComfyUI: The most powerful and modular stable diffusion GUI with a graph/nodes interface. (github.com)
3. Click to download the software package suitable for Windows, or you can choose the version suitable for your system according to your computer:
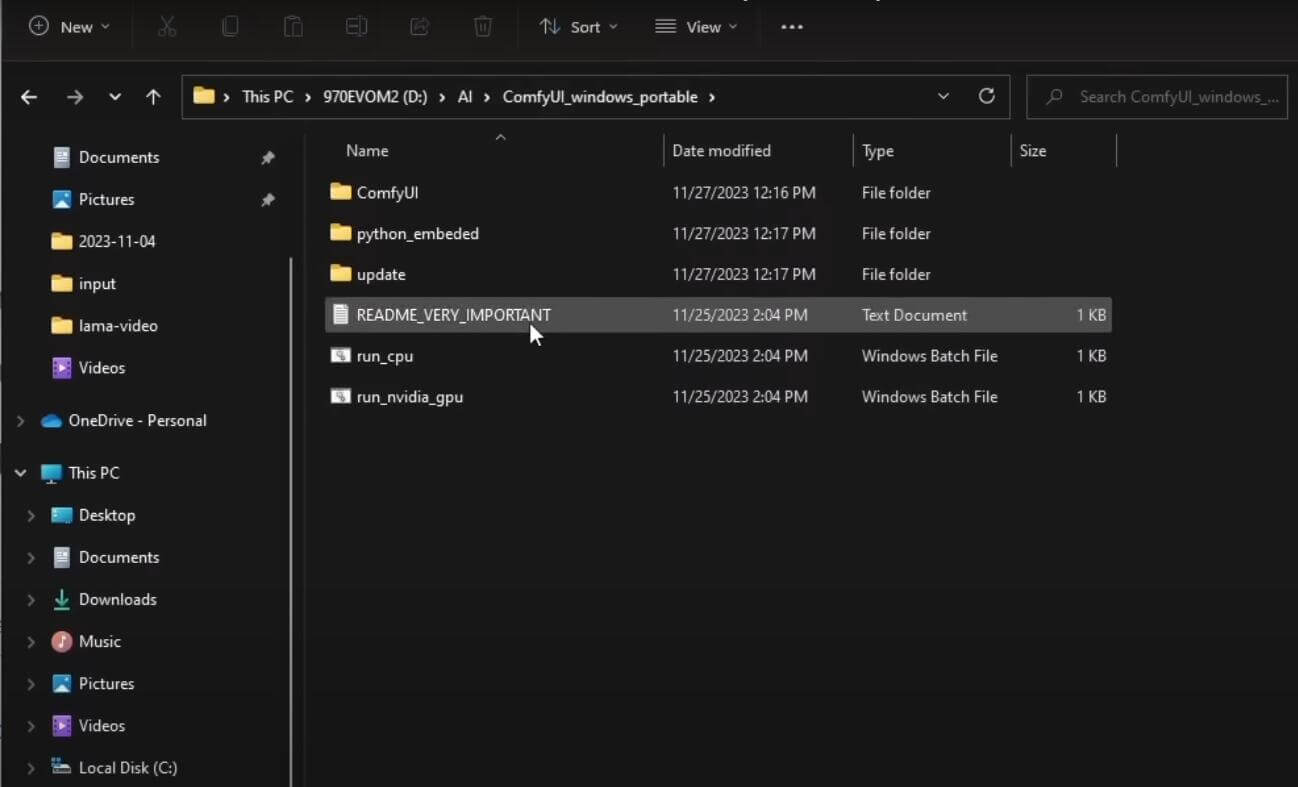
4. After finishing now, unzip it to the hard disk, as shown below:
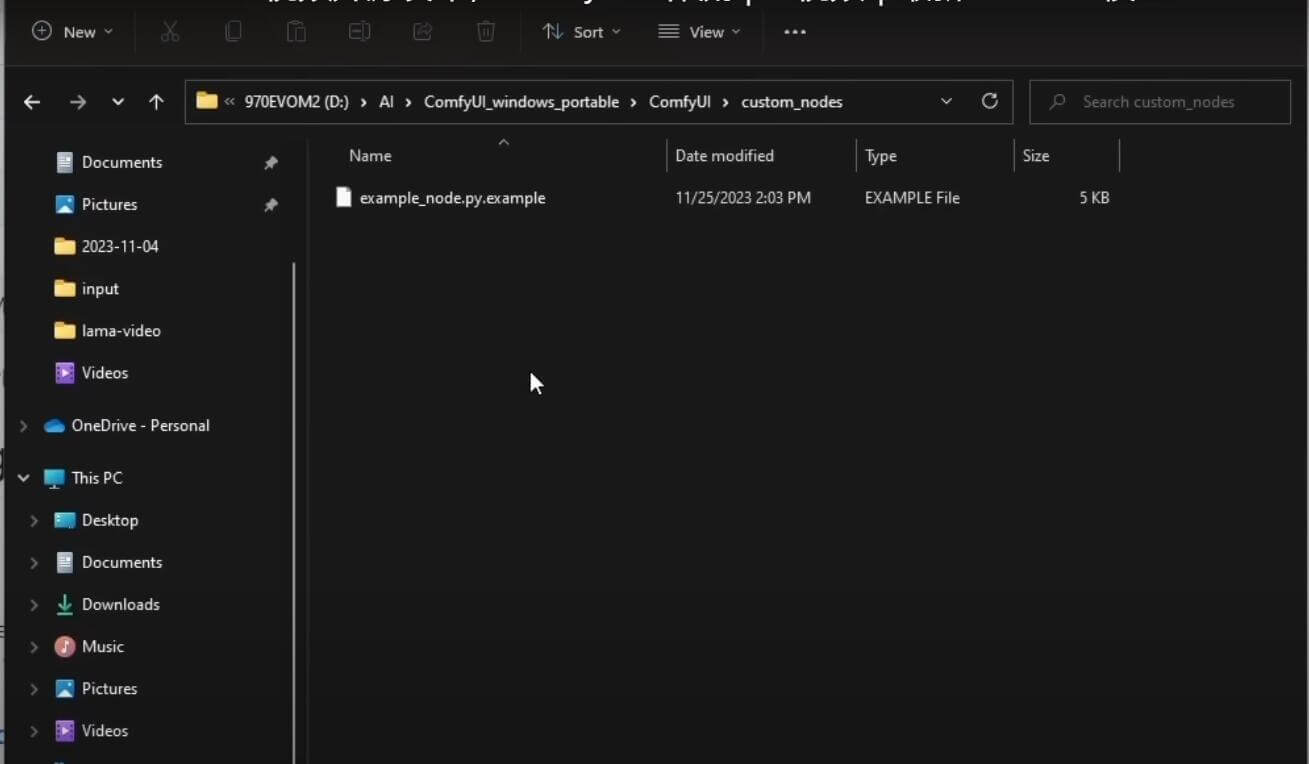
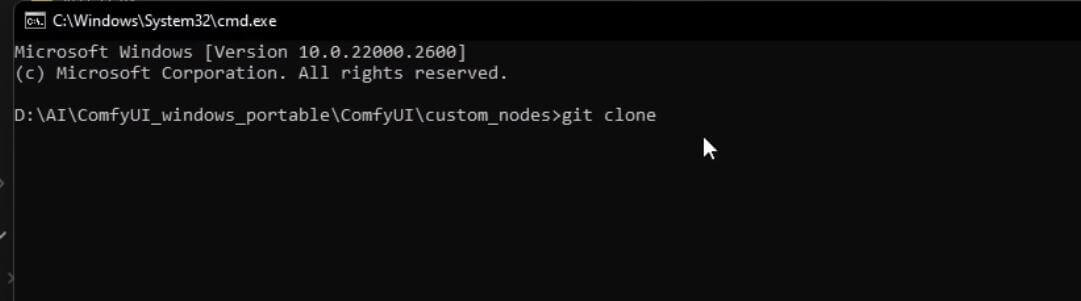
- a. Go to the Comfy ui folder and find the custom nodes folder.
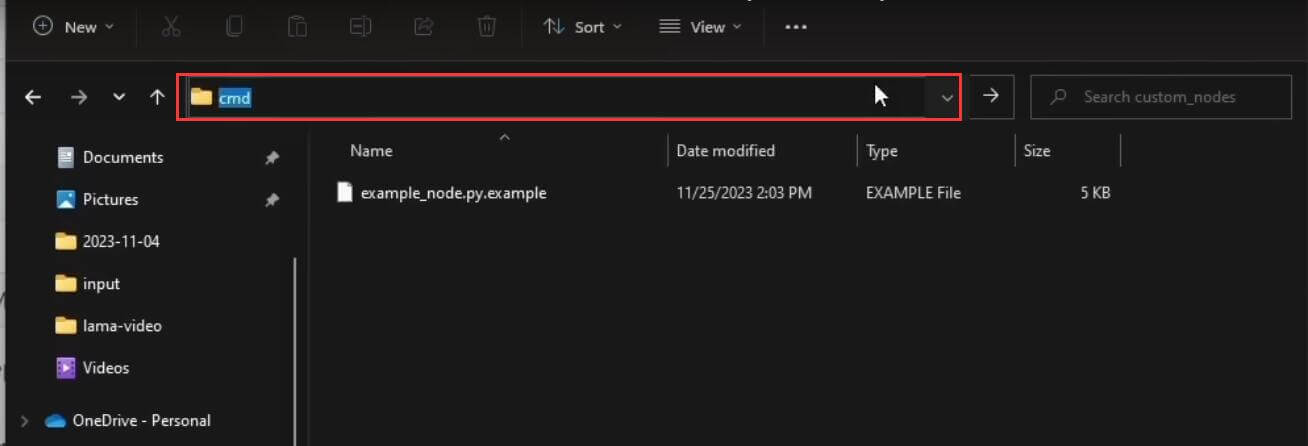
- b. Click on the nodes folder, address bar, and enter the "CMD" command.
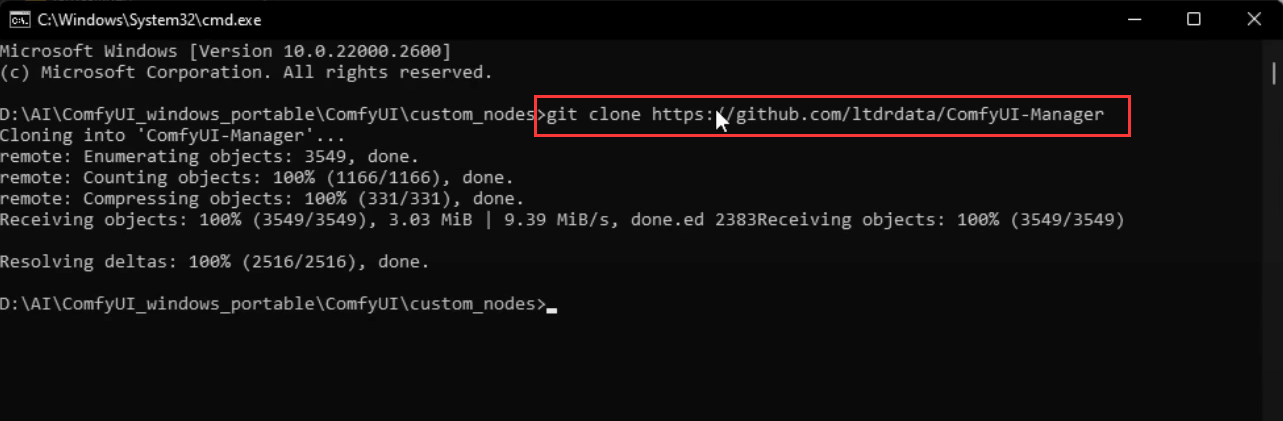
- c. Enter the Windows command line interface and enter the command: git clone.
- d. Enter the address of Comfy UImanager: https://github.com/ltdrdata/ComfyUI-Manager, and then the system will automatically install it.
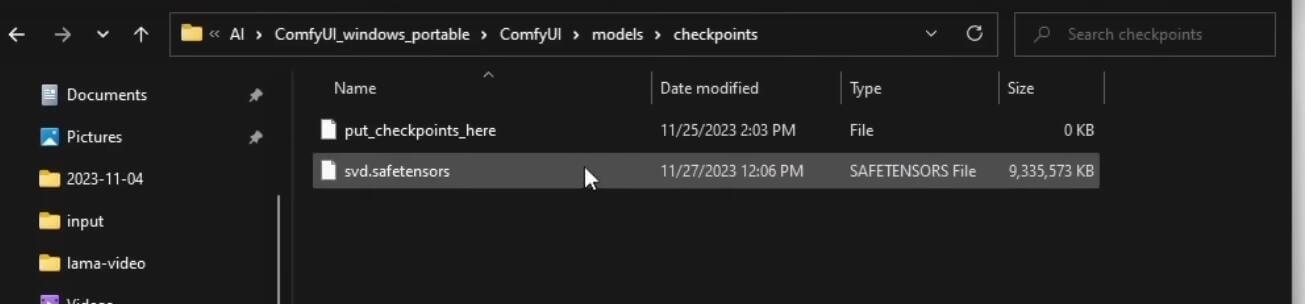
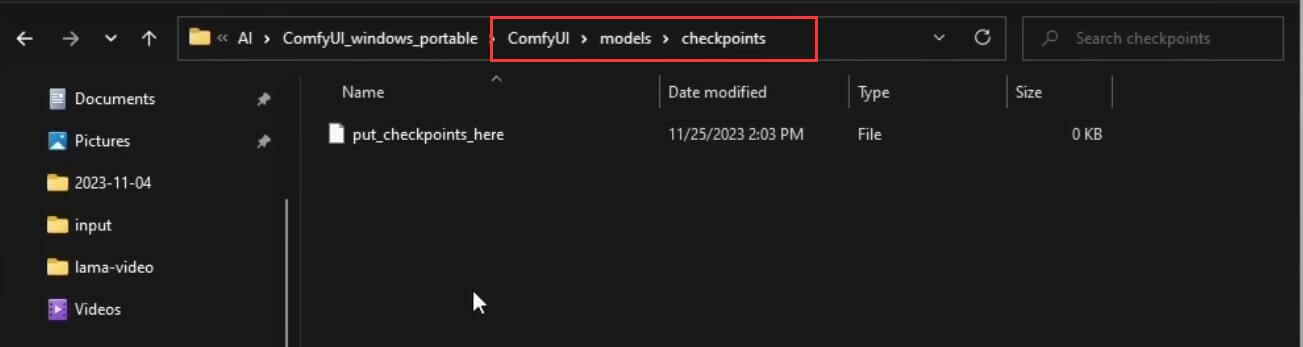
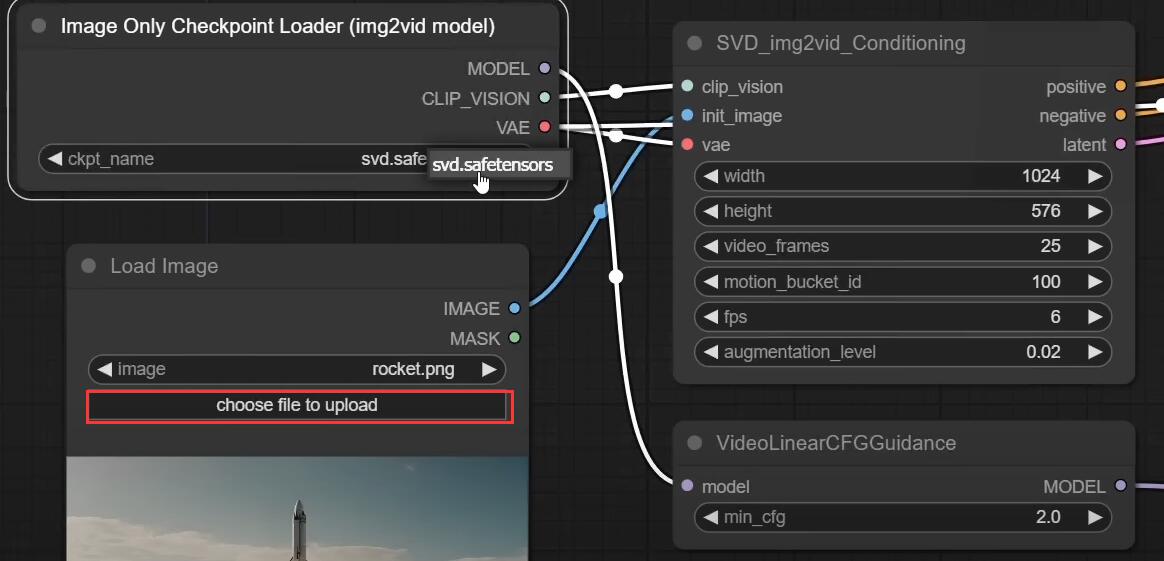
- e. Find the directory of Comfy ui in the decompression folder, find the models folder, open the checkpoints, folder, and copy the SVD model to this folder!
5. Install Comfy UI Manager: Go to the "Comfy UI" folder and install Coffee UI Manager via the command line. Copy the SVD model to the "models" - > "checkpoints" directory.
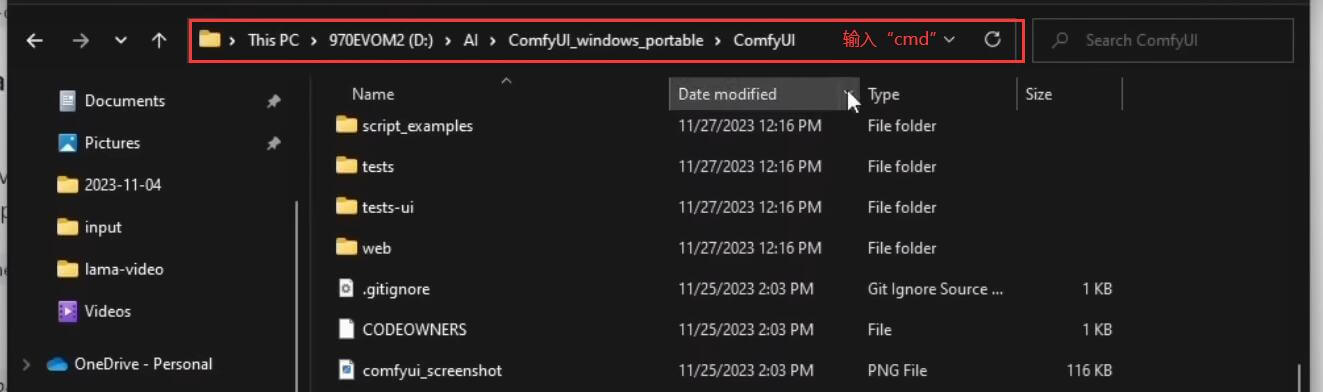
- a. Return to the comfy UI directory, enter the cmd command, and enter the command line interface:
- b. Installation package dependencies: Enter the command: pip install -r requirements.txt.
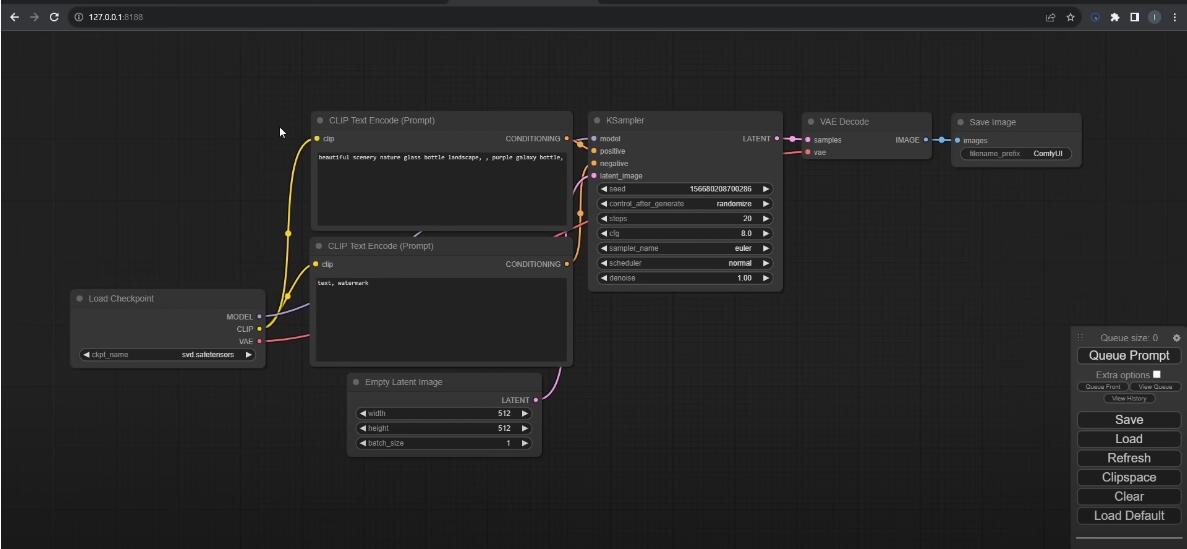
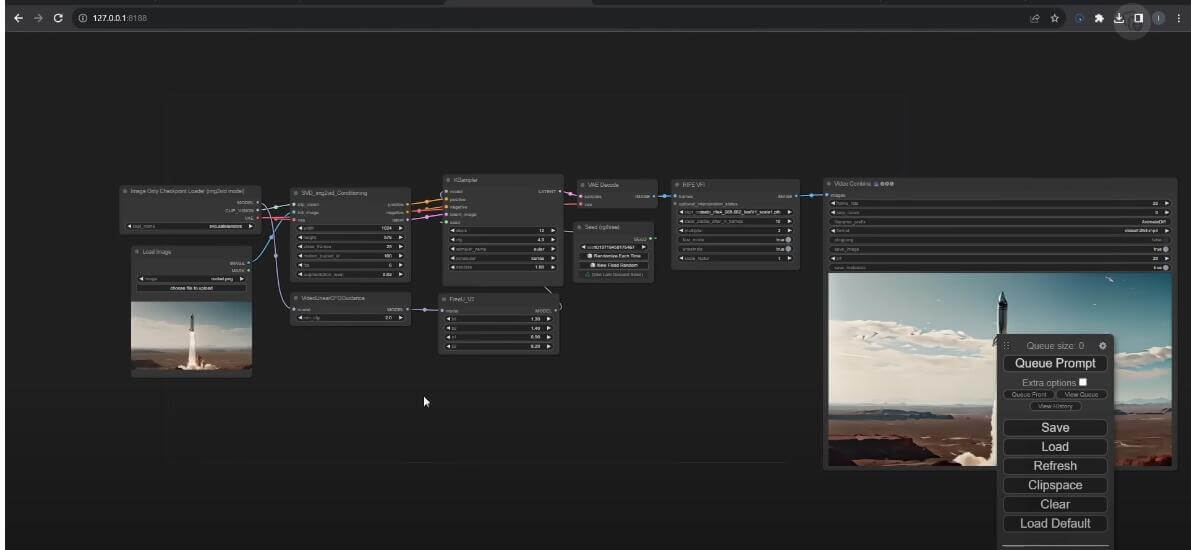
- c. Type "python main.py to start the ComfyUI interface! Here is a default workflow.
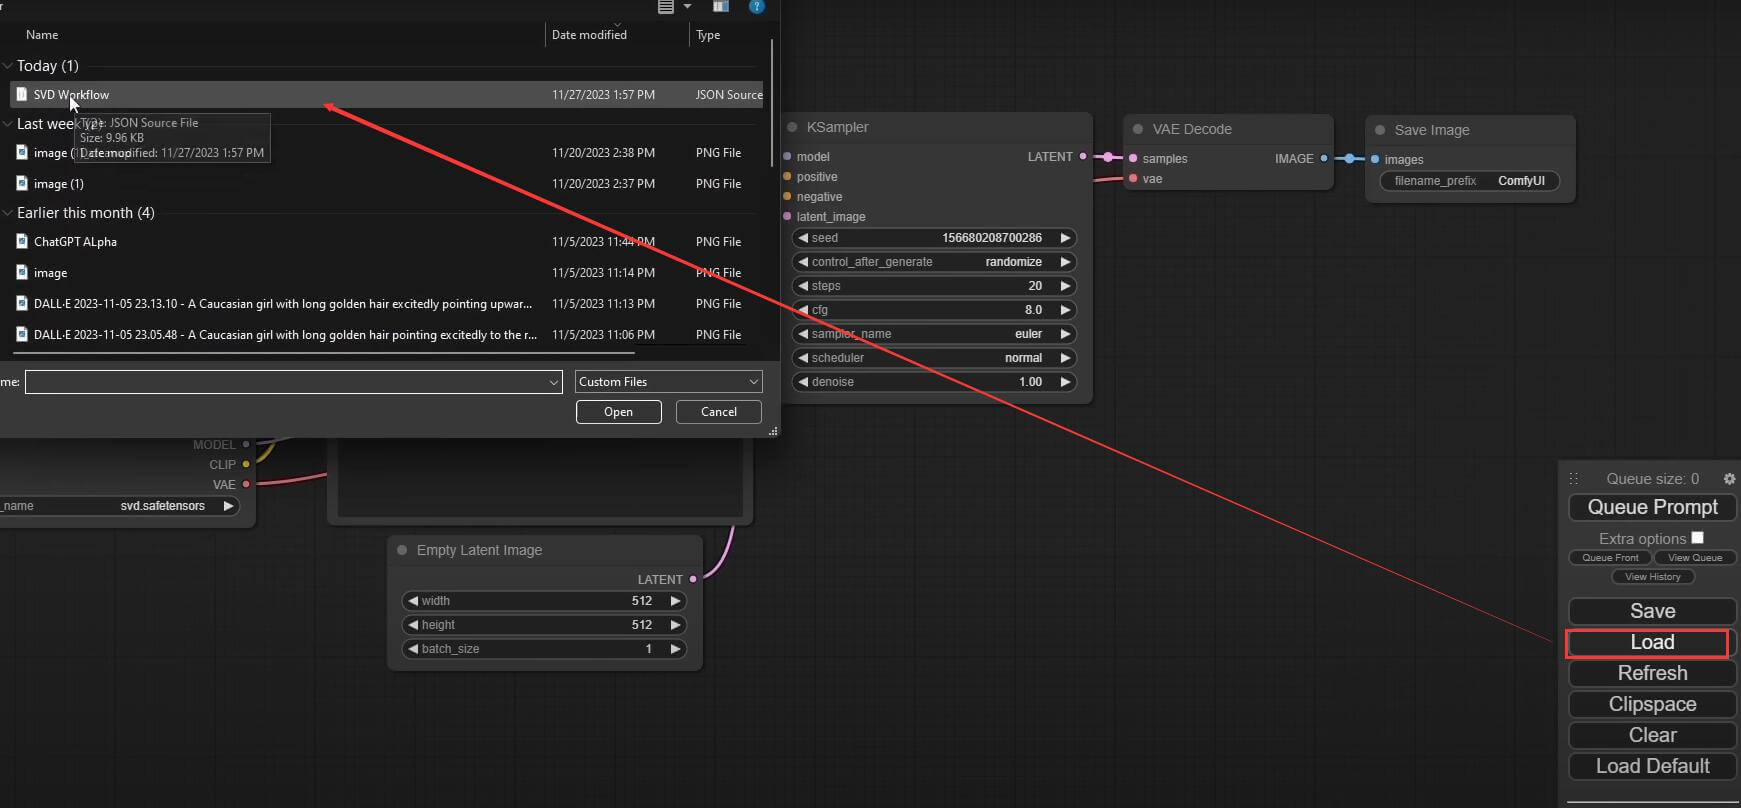
- d. Click "load" to import the SVD workflow!
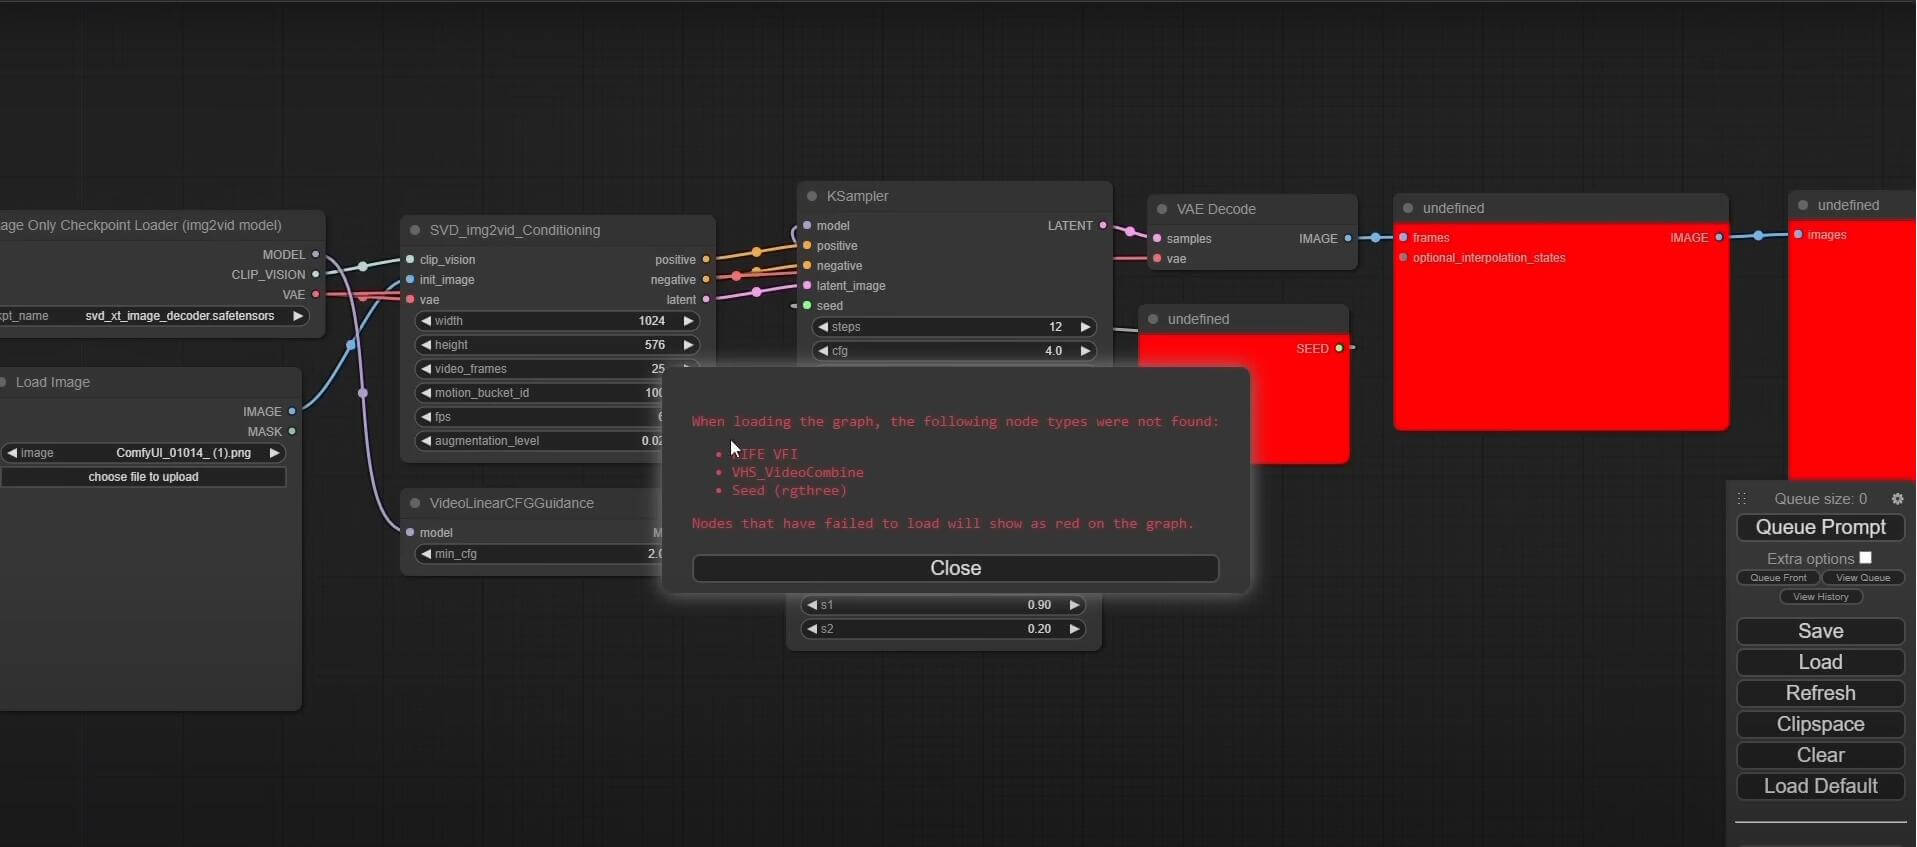
- e. Solve the error, there will be many errors after importing, as shown in the figure:
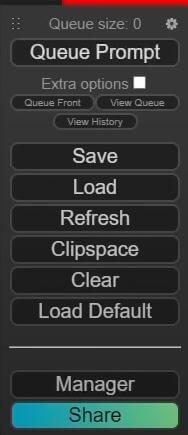
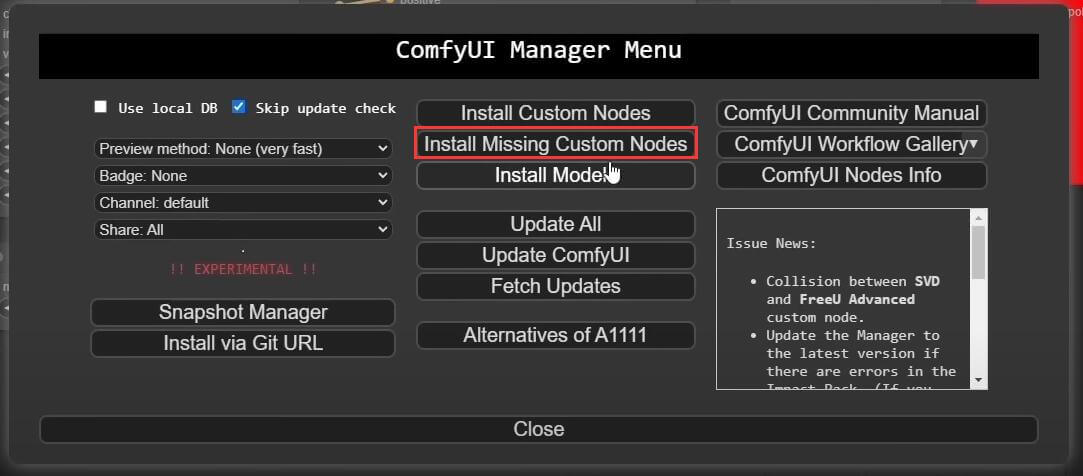
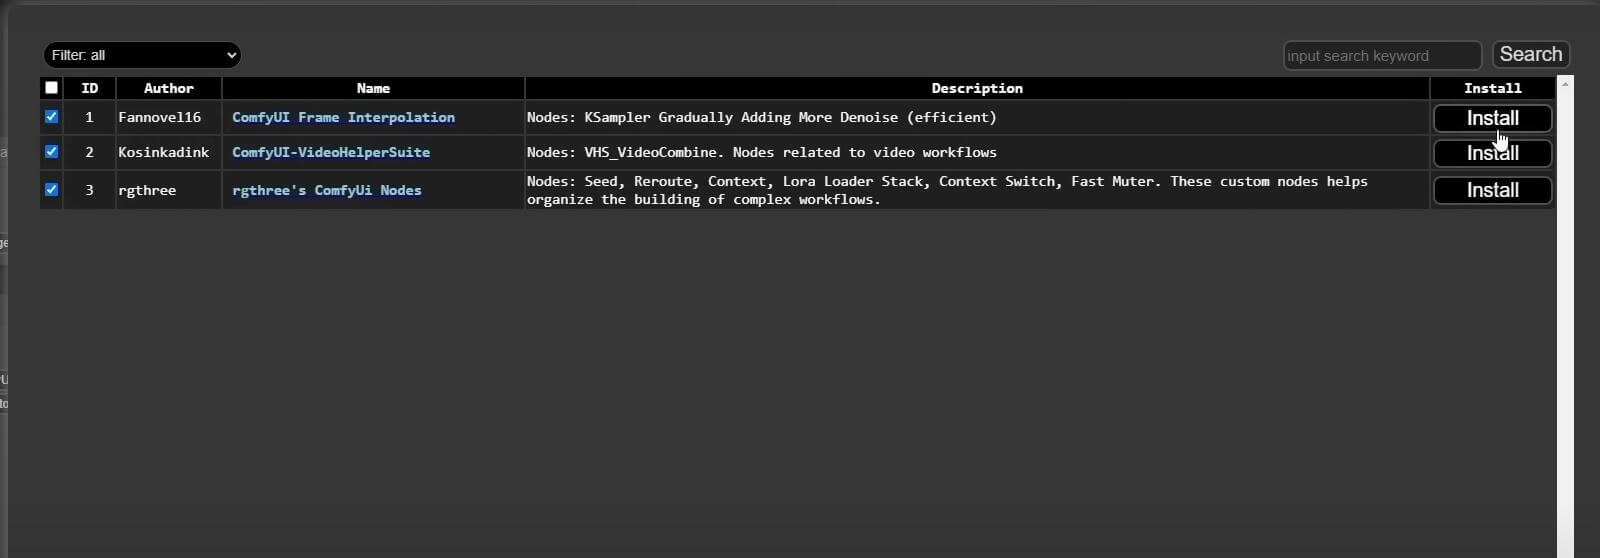
- f. Install dependencies: In the Manager, click "install missing custom notes", check all options, and click Instal (all instals).
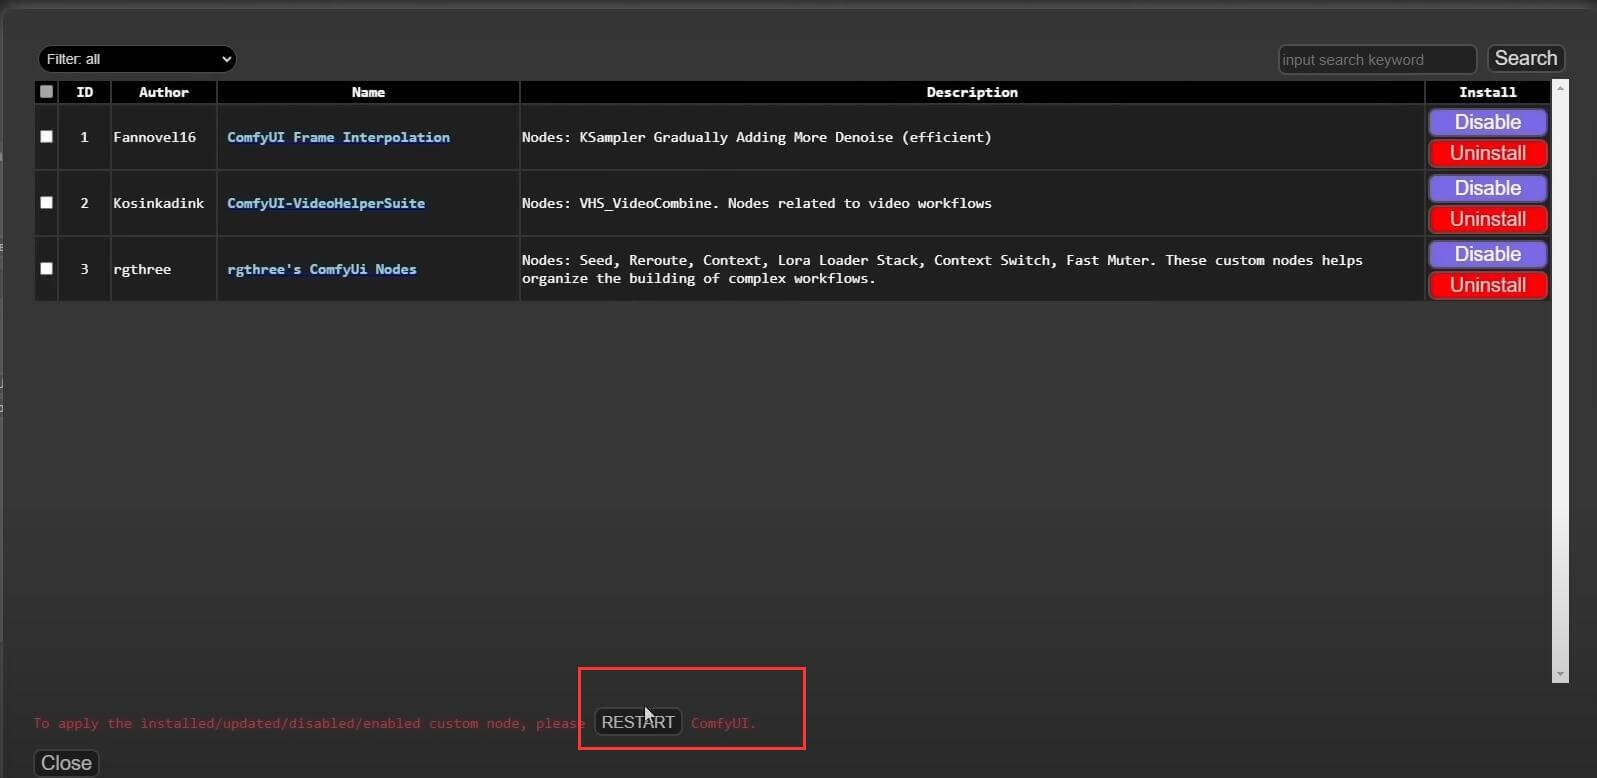
- g. Restart: Restart the Comfy UI to ensure that all changes take effect. After restarting, the interface is as follows:
6. Start the Comfy UI: Start the Comfy UI and load the SVD workflow.
Step 2: Set the model parameters
- 1. Load the model: Load the model in the workflow and select a downloaded model.
- 2. Import image: Import the original image by "Choose file to upload", such as a picture of a rocket.
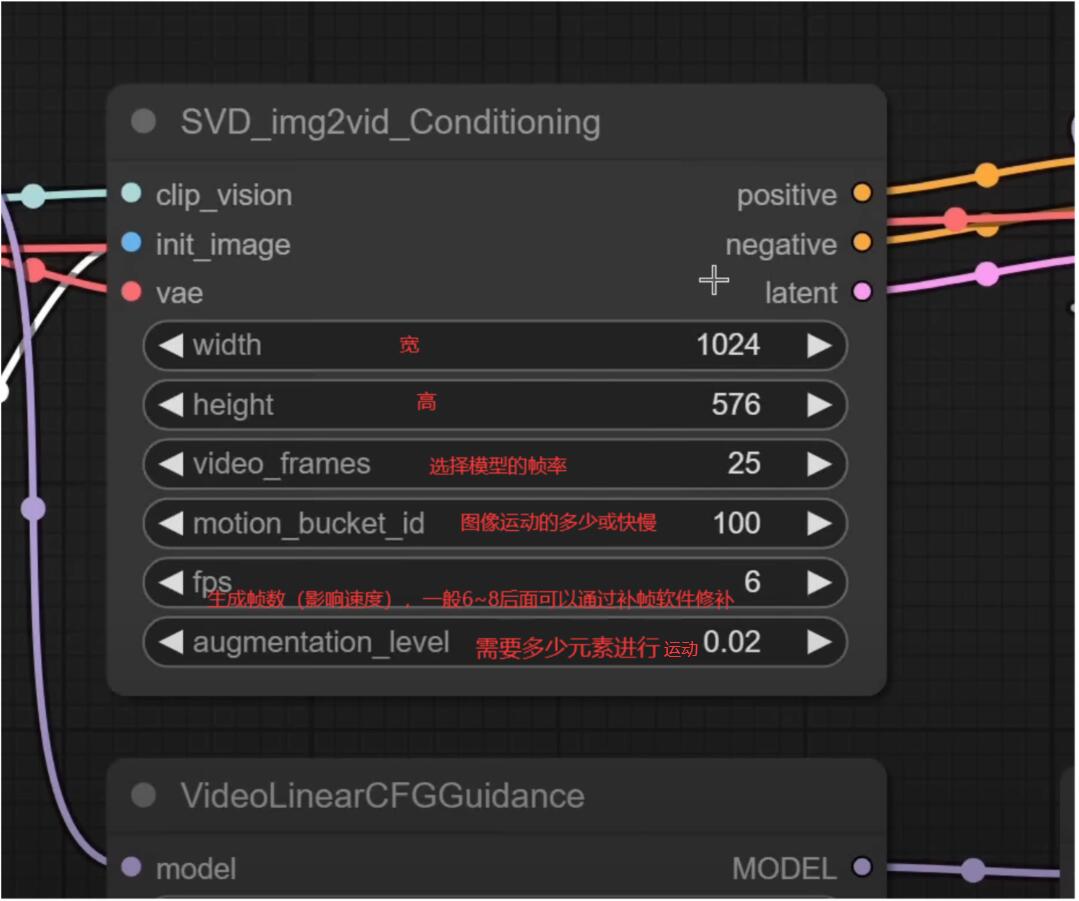
- 3. Parameter adjustment: In the parameter settings, adjust the width-to-height ratio, video frame, motion bucket ID and other parameters one by one, according to your creative needs.
- The model does not need to move for the time being!~
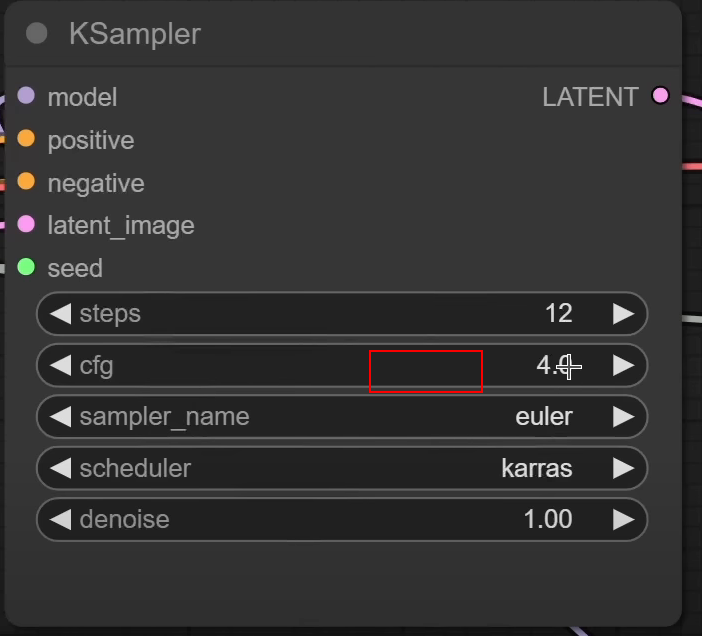
- 4. K Sampler parameters: Others basically do not need bar constant, CFG 3/4 works best~ The rest can be defaulted
- Steps: steps (finer effects), sampler_name sampler name, scheduler: scheduler, dnoise: denoising, others adjust according to your needs.
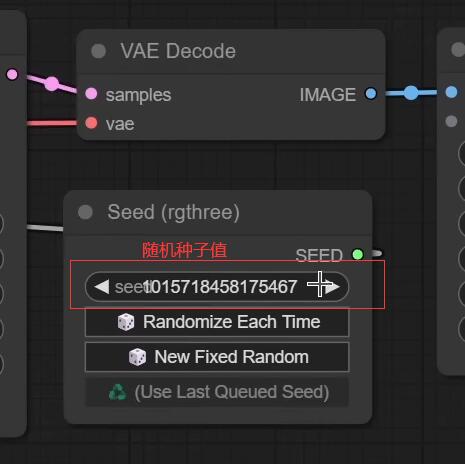
- Seed: Random seeds can be raised appropriately to make the generated videos more diverse!

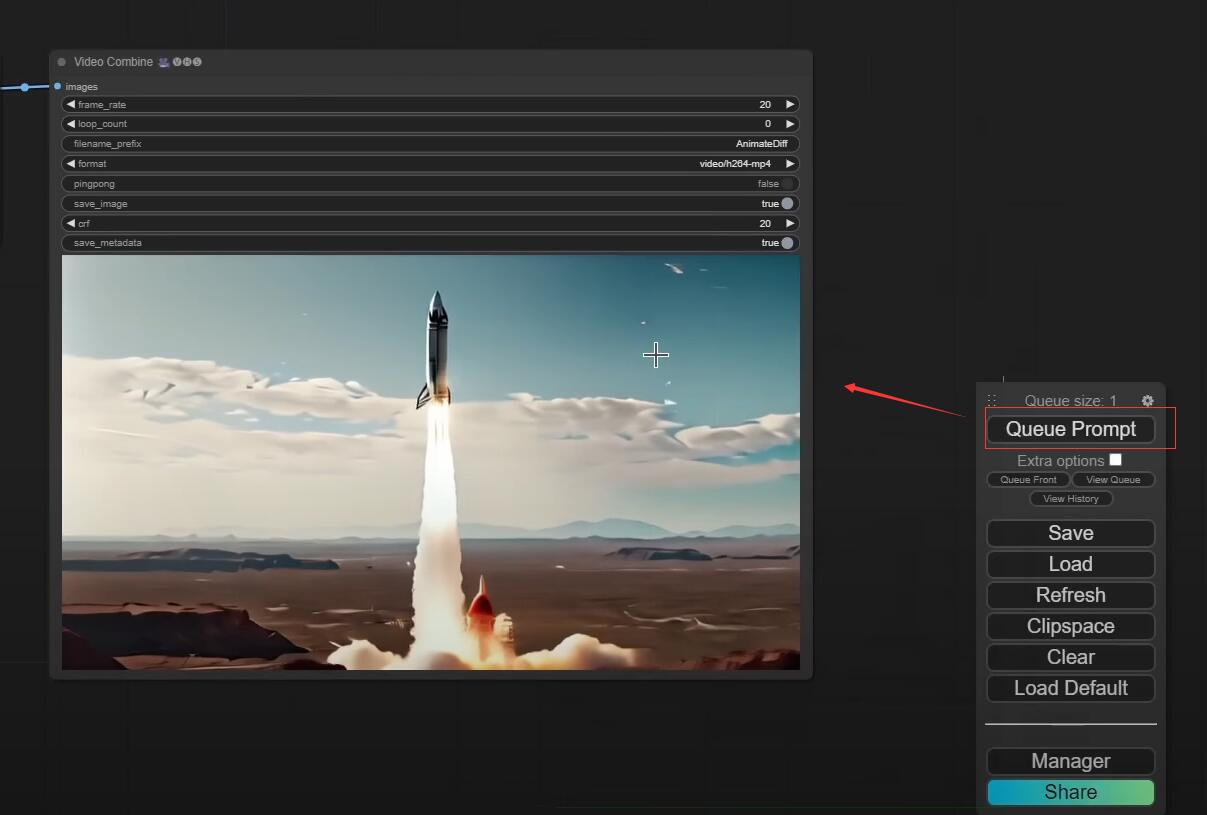
Step 3: Generate a Video
- 1. Trigger generation: Click Queue Prompt to start generating the video, and wait patiently for a while (3 minutes at the end of 3070 months).
- 2. Download the video: After the generation is complete, right-click the video and select "Save Preview" to download.
Of course, the quality and efficiency of locally generated AI videos cannot be guaranteed. If you want to truly experience the beauty of AI video generation, it is recommended that you try the free online TTVideo generator. Currently, the TextToVideo service of TTVideo is in a limited - time free phase, and it is highly recommended that you give it a free try.